Making A Card Holder: Step By Step April 27, 2016 09:49
One of our very friendly customers asked if he could get some pictures of his custom card holder being made. Of course we accepted his proposal, but perhaps took it a bit too far when we decided to document every single step. So please excuse the myriad of pictures in this post.
This shows just how many steps something as simple as a card holder goes through and hopefully it also shows some of the skill that goes into it. It's not done on an assembly line going from person to person performing the same task day in and day out. The wallet is made from start to finish by the same person. We do this because we're dedicated to making good, quality products.

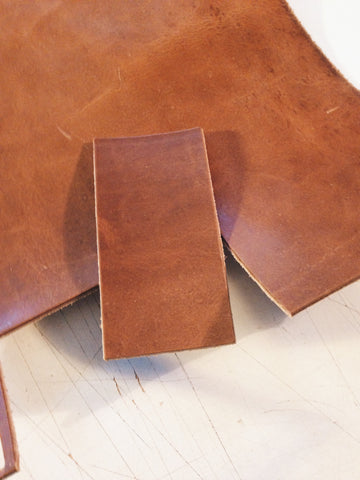
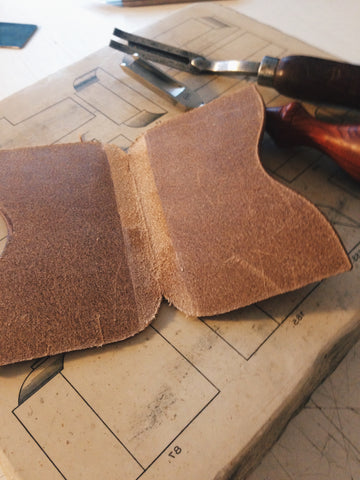
We're making a double card holder in natural harness leather from our German tannery. This is available as a custom order currently. The harness leather is an undyed leather that has been stuffed with wax, oils and fats creating a leather with a beautiful pull up that ages very nicely.
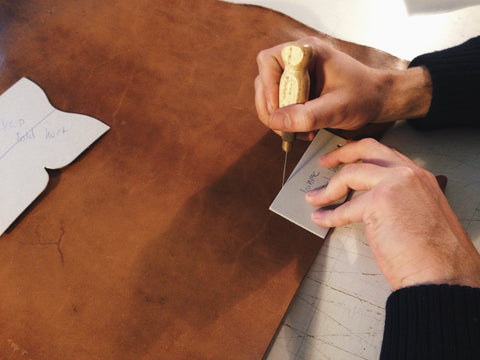
The cardboard pattern is traced onto the leather using a round awl.

In this case we're cutting the leather using an old George Barnsley knife that has been converted into a clicking knife with a fine point.

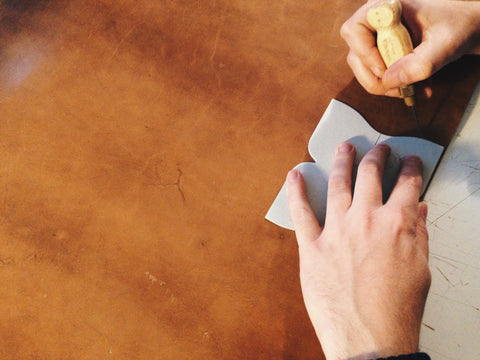
First the exposed edges are sanded dry,

After which we wet the edges with a mix of glycerin and water before sanding the edges again while they're damp.

With a small edge beveler the edges are rounded.

The beveled edges are then burnished using our own wax formula. This seals the edge and gives it a slight shine. This step requires patience and skill.

In order to create a neat edge on the finished wallet the lower part of the central piece is skived in the bottom. We're skiving on an old litho stone, as the knife does dig into the surface and it doesn't dull the blade.

The backside is also burnished using a bone folder and another burnishing mixture that we make
In order to create a tight fold we first cut a shallow groove.

The groove allows the french edge skiver to remove a bit more material. You don't want to cut away too much material, but enough to get a tight fold.
The card holder can now be folded properly


The wallet is glued together using a water based glue in two steps. It could probably be done in one go, but it gives a greater sense of security because we want it folded tightly.

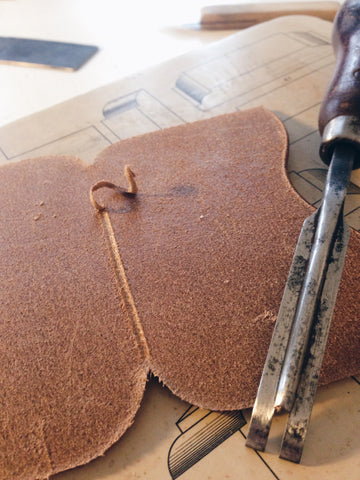
The seam allowance is marked using a divider.
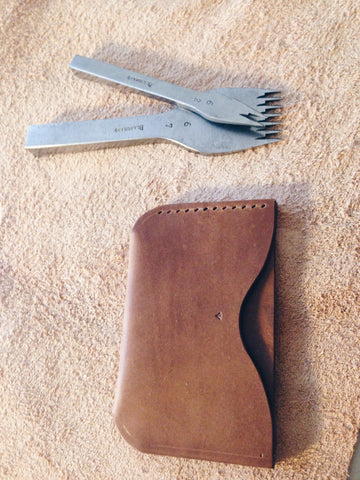
The pricking irons set the stitches. They help you keep the angle that we want on our stitches

We mostly use prewaxed threads, but this thread needs a bit of extra wax, so we add our own thread wax by running the thread through the wax.

Running the thread through some heavy canvas removes any wax cakes on the thread and it helps it set by generating a bit of friction.

With the stitches set we pierce every hole using a sharp awl. No machines involved here.

One length of thread with a needle attached in each end creates what is known as the saddle stitch.

With the sewn card holder still in place in the sewing clam the edges are trimmed. We use our paring knife to level the edges.

More sanding. Dry and wet.

Edges are beveled to create a smooth and round edge. You'll notice that the stitches are slanted and sit at an angle. The look can easily be replicated by a sewing machine, but the durability of the saddle stitch cannot.

One of the most important steps is a good burnish. We again use our own wax blend and rarely use any edge dyes and never any edge paints.

The result being a smooth edge with as slight shine. The transformation is always incredible. You'll notice the middle piece being tapered towards the end where it was skived.
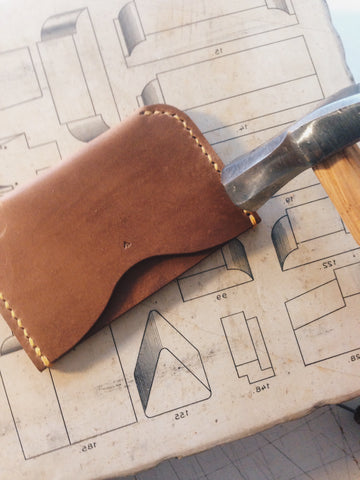
By tapping down the seams using a smooth faced hammer you avoid any unnecessary wear and tear on the stitches. Plus it improves their appearance.

As a finishing touch we give it a bit of our own conditioner.

Finally a good scrubbing with a horsehair brush removes any excess wax and conditioner.

Et voila.